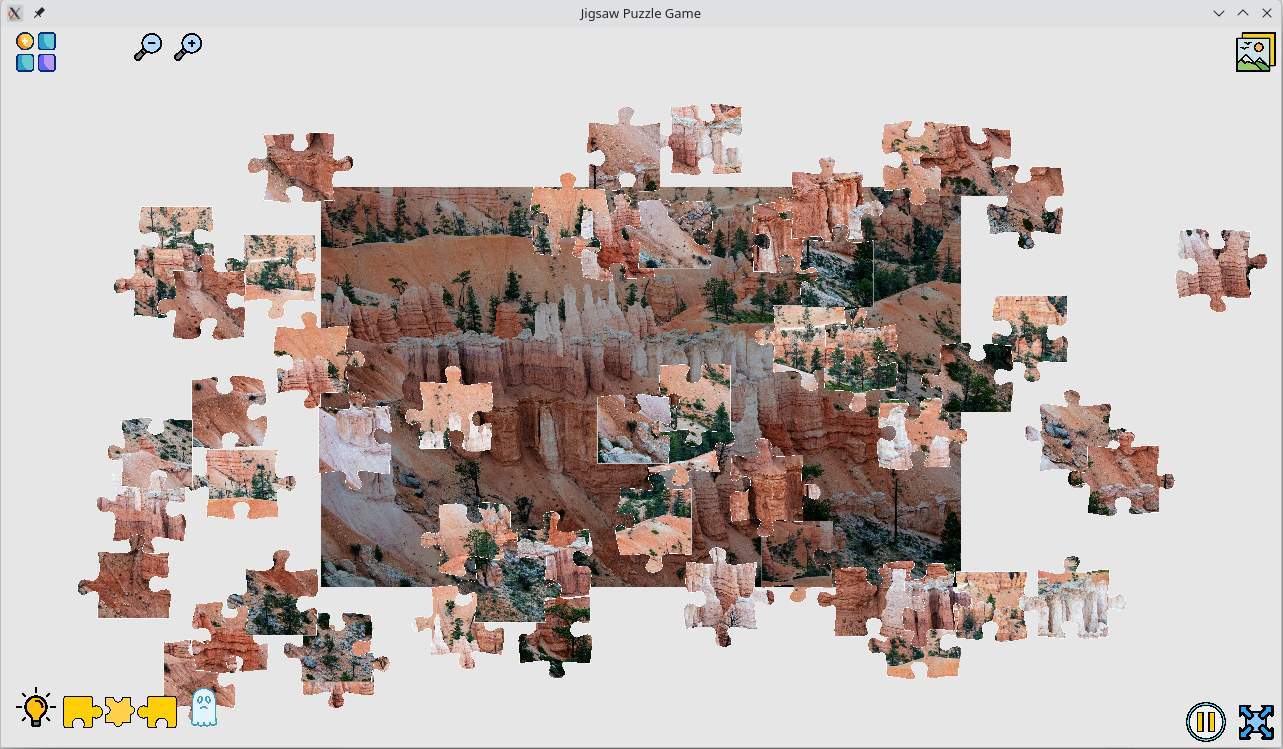
优化性能
将应用设置为桌面模式, 通过改变窗口聚焦/非聚焦时的tick频率,降低CPU/GPU的使用率
app.insert_resource(WinitSettings::desktop_app());
UI布局
先调整背景颜色, 设置ClearColor这个Resource
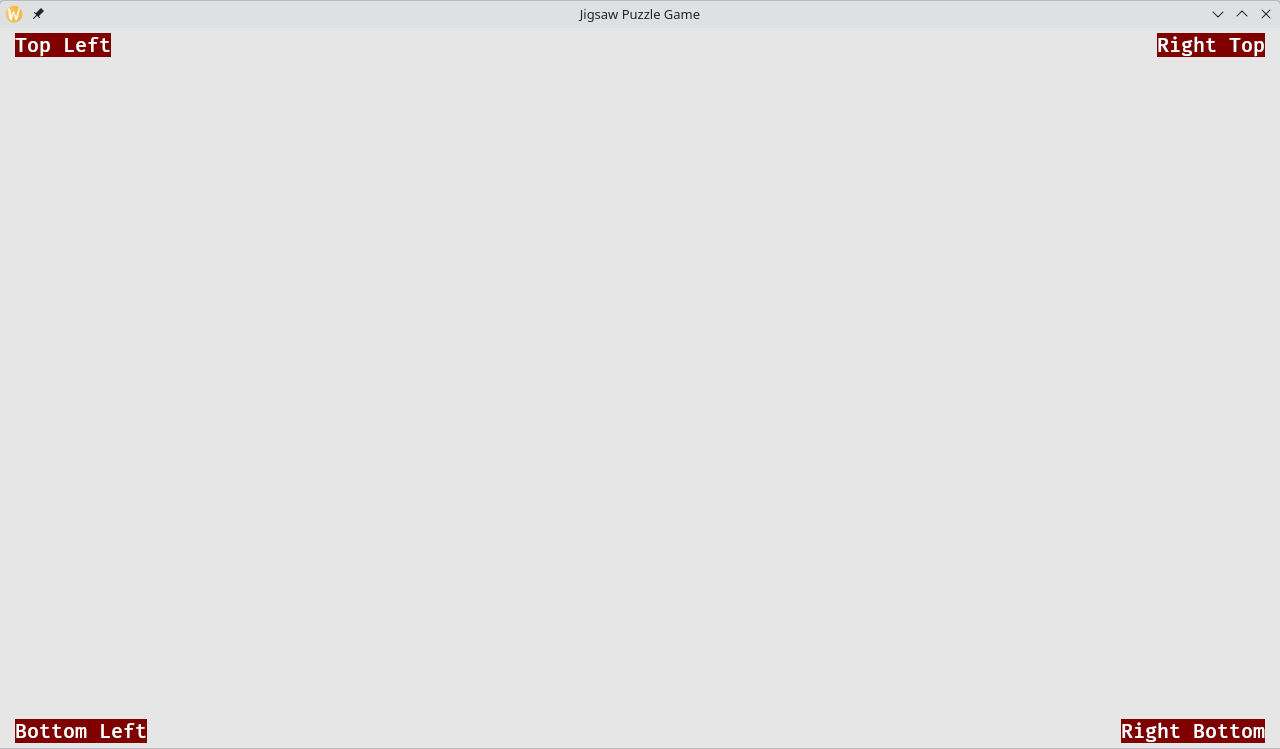
app.insert_resource(ClearColor(Color::srgb(0.9, 0.9, 0.9)))在四个角布置Node节点, 准备加入icon图标
let background_color = MAROON.into();
let root_node = commands
    .spawn(Node {
        width: Val::Percent(100.),
        height: Val::Percent(100.),
        justify_content: JustifyContent::SpaceBetween,
        ..default()
    })
    .id();

let left_column = commands
    .spawn(Node {
        flex_direction: FlexDirection::Column,
        justify_content: JustifyContent::SpaceBetween,
        align_items: AlignItems::Start,
        margin: UiRect::axes(Val::Px(15.), Val::Px(5.)),
        ..default()
    })
    .with_children(|builder| {
        builder.spawn((Text::new("Top Left"), BackgroundColor(background_color)));
        builder.spawn((Text::new("Bottom Left"), BackgroundColor(background_color)));
    })
    .id();

let right_column = commands
    .spawn(Node {
        flex_direction: FlexDirection::Column,
        justify_content: JustifyContent::SpaceBetween,
        align_items: AlignItems::End,
        margin: UiRect::axes(Val::Px(15.), Val::Px(5.)),
        ..default()
    })
    .with_children(|builder| {
        builder.spawn((Text::new("Right Top"), BackgroundColor(background_color)));
        builder.spawn((Text::new("Right Bottom"), BackgroundColor(background_color)));
    })
    .id();
commands
    .entity(root_node)
    .add_children(&[left_column, right_column]);
初始效果如下:
 再在每个角的节点添加icon
p.spawn((
    UiImage::new(asset_server.load("icons/lamp.png")),
    Node {
        height: Val::Px(40.),
        margin: UiRect::axes(Val::Px(0.), Val::Px(5.)),
        ..default()
    },
    IdeaButton,
));
最终效果如下
点击失效
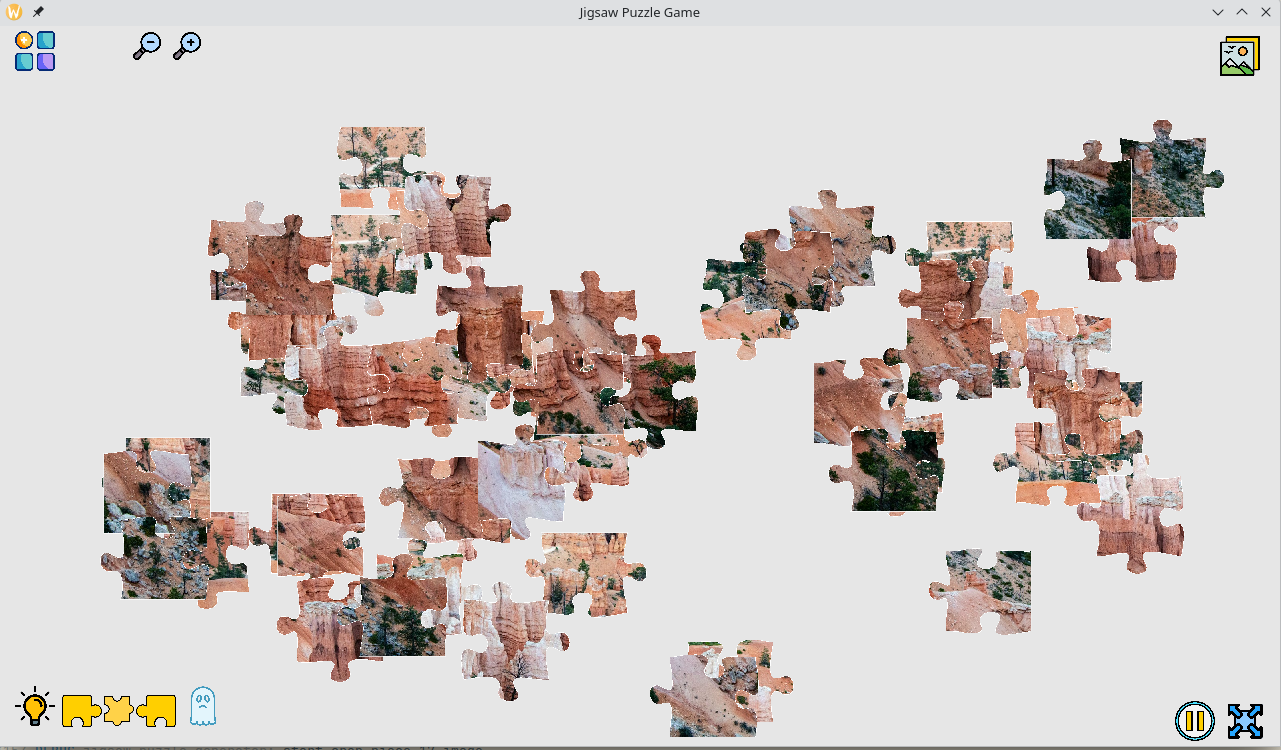
加完UI后, 拼图块点击失效。 搜索之后, 发现目前在0.15发布前, 还要更新UI和picking的一些bug和feature。相关ISSUE。 所以暂时先把UI去除,将UI的功能用键盘实现。
缩放镜头
先设置一个缩放的AdjustScale事件 , 当收到事件时, 计算一下新的scale值,当在合适的范围内时,更新相机的scale。
#[derive(Event)]
pub struct AdjustScale(pub f32);

const MAX_SCALE: f32 = 3.0;
const MIN_SCALE: f32 = 0.5;

/// Adjust the camera scale on event
fn adjust_camera_scale(
    mut event: EventReader<AdjustScale>,
    mut camera_2d: Single<&mut OrthographicProjection, With<Camera2d>>,
) {
    for AdjustScale(scale) in event.read() {
        let new_scale = camera_2d.scale + scale;
        debug!("new scale: {}", new_scale);
        if (MIN_SCALE..=MAX_SCALE).contains(&new_scale) {
		    camera_2d.scale = new_scale;
		}
    }
}
为什么要设计一个event进行缩放处理呢?因为我们可以将键盘,鼠标滚轮,UI点击都转为发送事件,统一用上面的system进行处理。
// 处理键盘事件
fn handle_keyboard_input(keyboard_input: Res<ButtonInput<KeyCode>>, mut commands: Commands) {
    if keyboard_input.just_pressed(KeyCode::PageUp) {
        commands.send_event(AdjustScale(0.1));
    } else if keyboard_input.just_pressed(KeyCode::PageDown) {
        commands.send_event(AdjustScale(-0.1));
    }
}

/// 处理鼠标滚轮事件
fn handle_mouse_wheel_input(
    mut mouse_wheel_input: EventReader<MouseWheel>,
    mut commands: Commands,
) {
    for event in mouse_wheel_input.read() {
        commands.send_event(AdjustScale(event.y * 0.1));
    }
}
背景提示图案
同样的方式,增加ToggleBackgroundHint事件
#[derive(Event)]
pub struct ToggleBackgroundHint;

fn handle_toggle_background_hint(
    mut event: EventReader<ToggleBackgroundHint>,
    mut query: Query<&mut Visibility, With<BoardBackgroundImage>>,
) {
    for _ in event.read() {
        for mut visible in query.iter_mut() {
            visible.toggle_visible_hidden();
        }
    }
}